
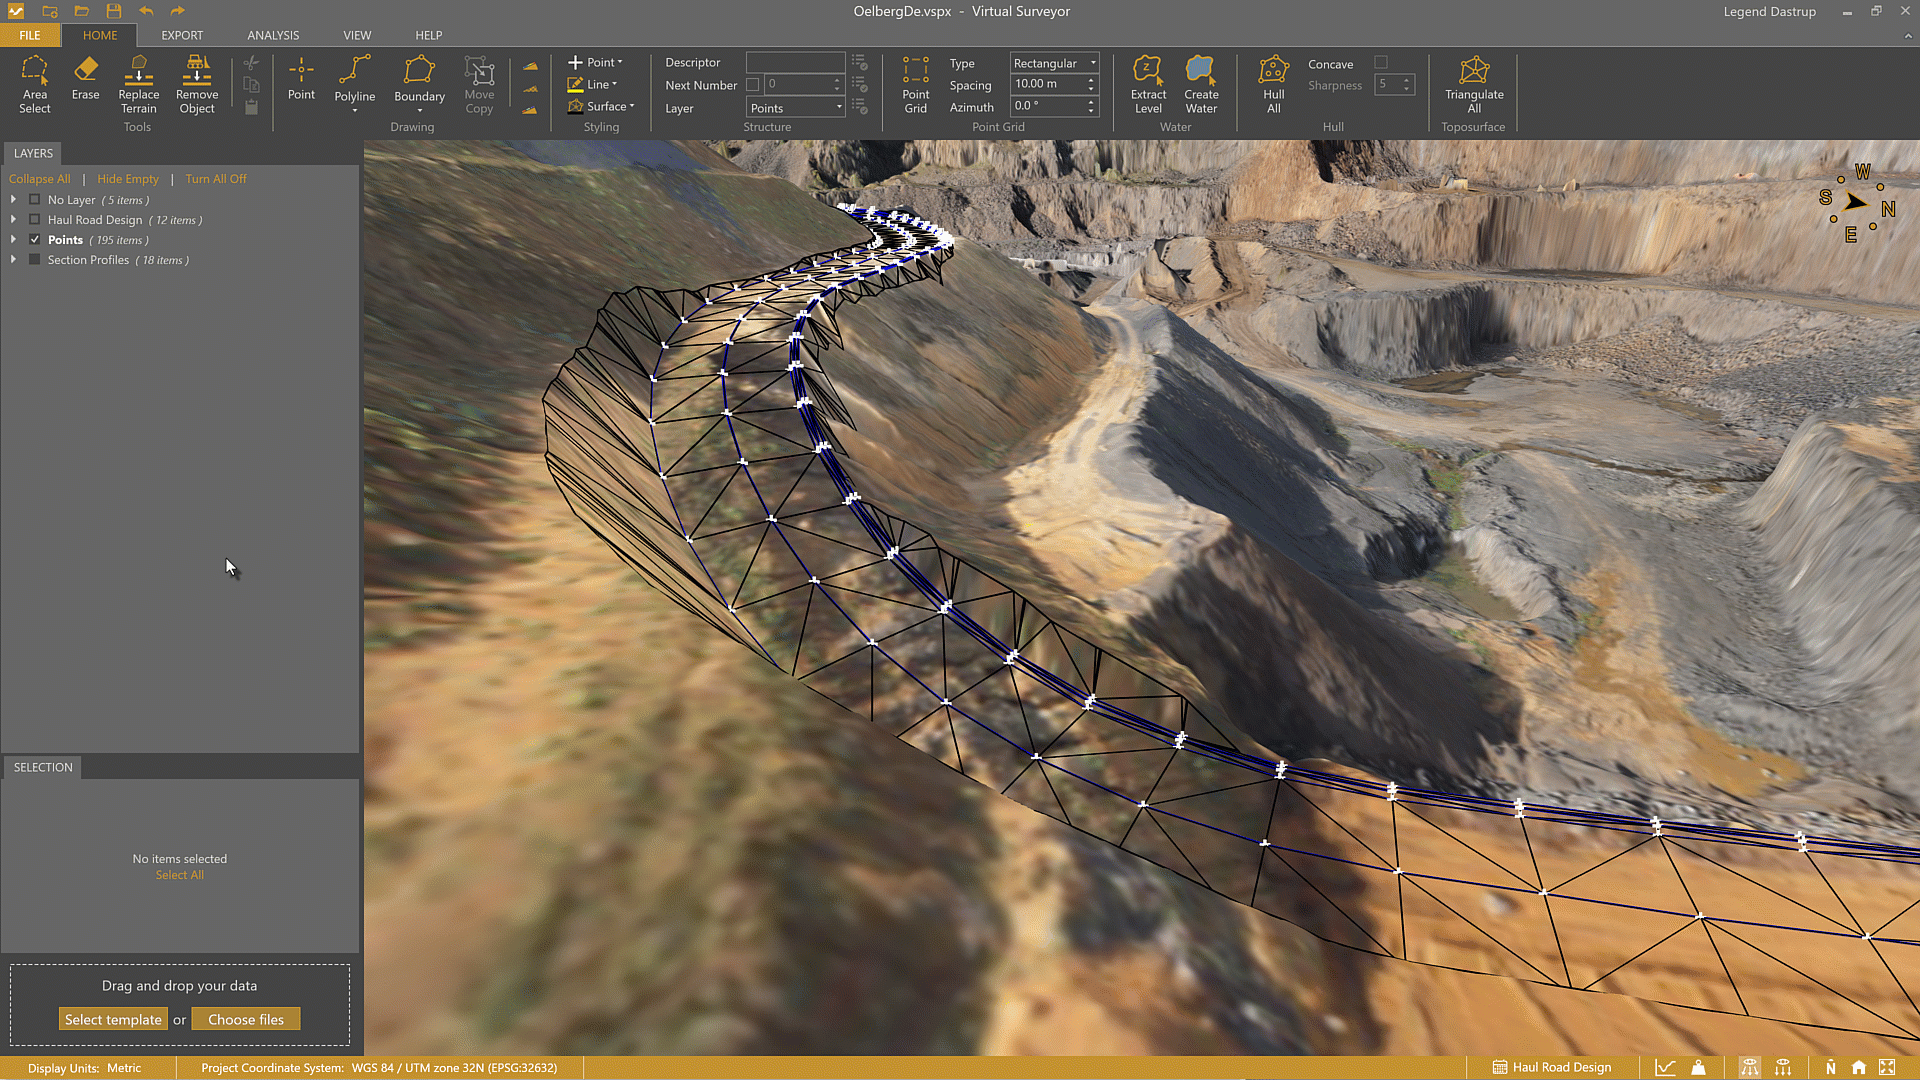
You can select project content directly from the Viewport, or use the Layers panel to select geometries and features that you want to edit, move, copy, rotate, or remove within your project. When selected, the content is highlighted in both the Viewport and the Layers panel.
This article walks through the most common selection methods available in the Virtual Surveyor app.
Overview
Ways to Select Content
You can select content from either the Viewport or the Layers panel. Selecting in one location automatically highlights the same geometry or feature in both.
Click to Select
You can use left-click to select visible content.
- Click a geometry to select it.

- Hold Ctrl and click to add geometries to your selection.

- Hold Shift and click to select a range of geometries from the Layers panel.

Rectangle Select
You can use Rectangle Select to choose geometries that intersect with or fall within a rectangular area.
- Hold Shift.
- Click and drag in the Viewport to draw a rectangle around the geometries you want to select.

Area Select
You can use Area Select to define a custom selection area.
- Enable Area Select from the Home tab.
- Left-click to draw the selection area in the Viewport.
- Right-click to complete the selection.

Select Within a Boundary
You can use Select Within to select geometries that lie within a defined boundary.
- Select the boundary.
- Go to the Tools tab.
- Click Select Within.

Cycle Selection Options with Tab
Use the Tab key to cycle through overlapping geometries and select the correct one.
- Hover over the overlapping geometries.
- Press Tab to cycle through options.
- Click to select the highlighted geometry.
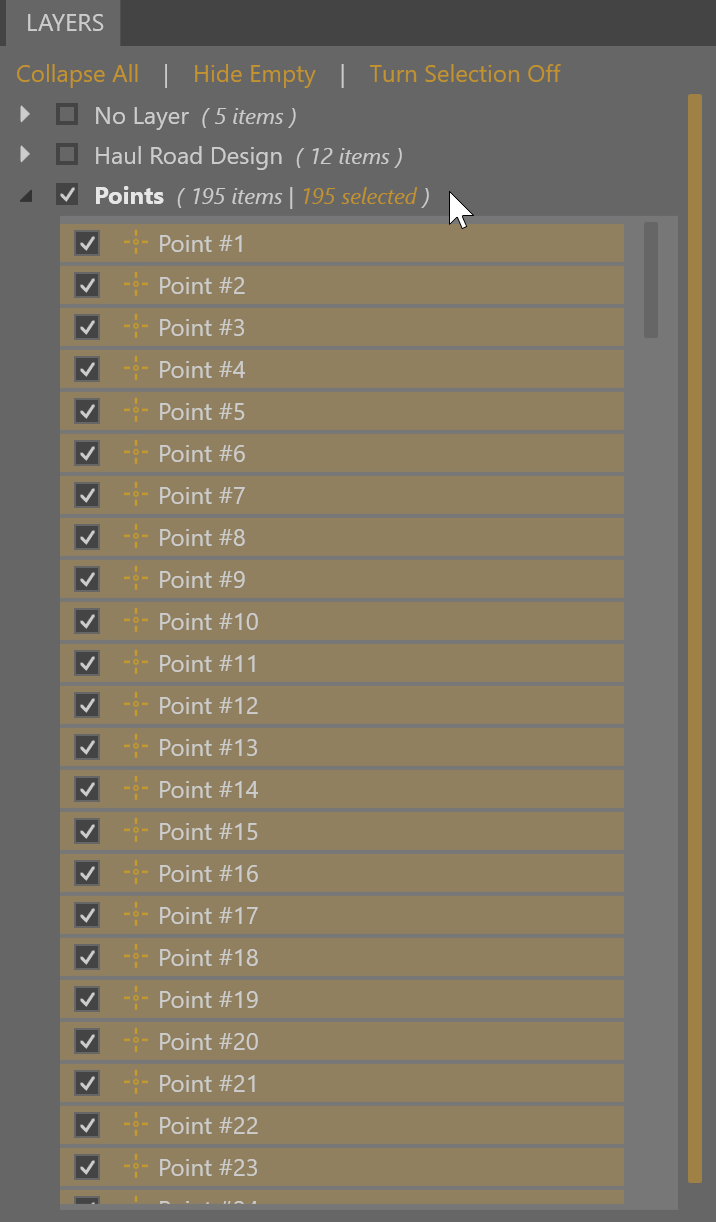
Select a Layer
You can select all geometries and features within a layer at once.
- Click the layer name in the Layers panel.
- All content from that layer is selected.
Selection Summary
You can use the Selection Box to see a summary of selected content. From here you can manage and refine your selection.
- Click Select All to select all geometries, including those not visible in the Viewport.
- Review the selection summary in the Selection Box.

- Use the summary to refine your selection by feature type.
