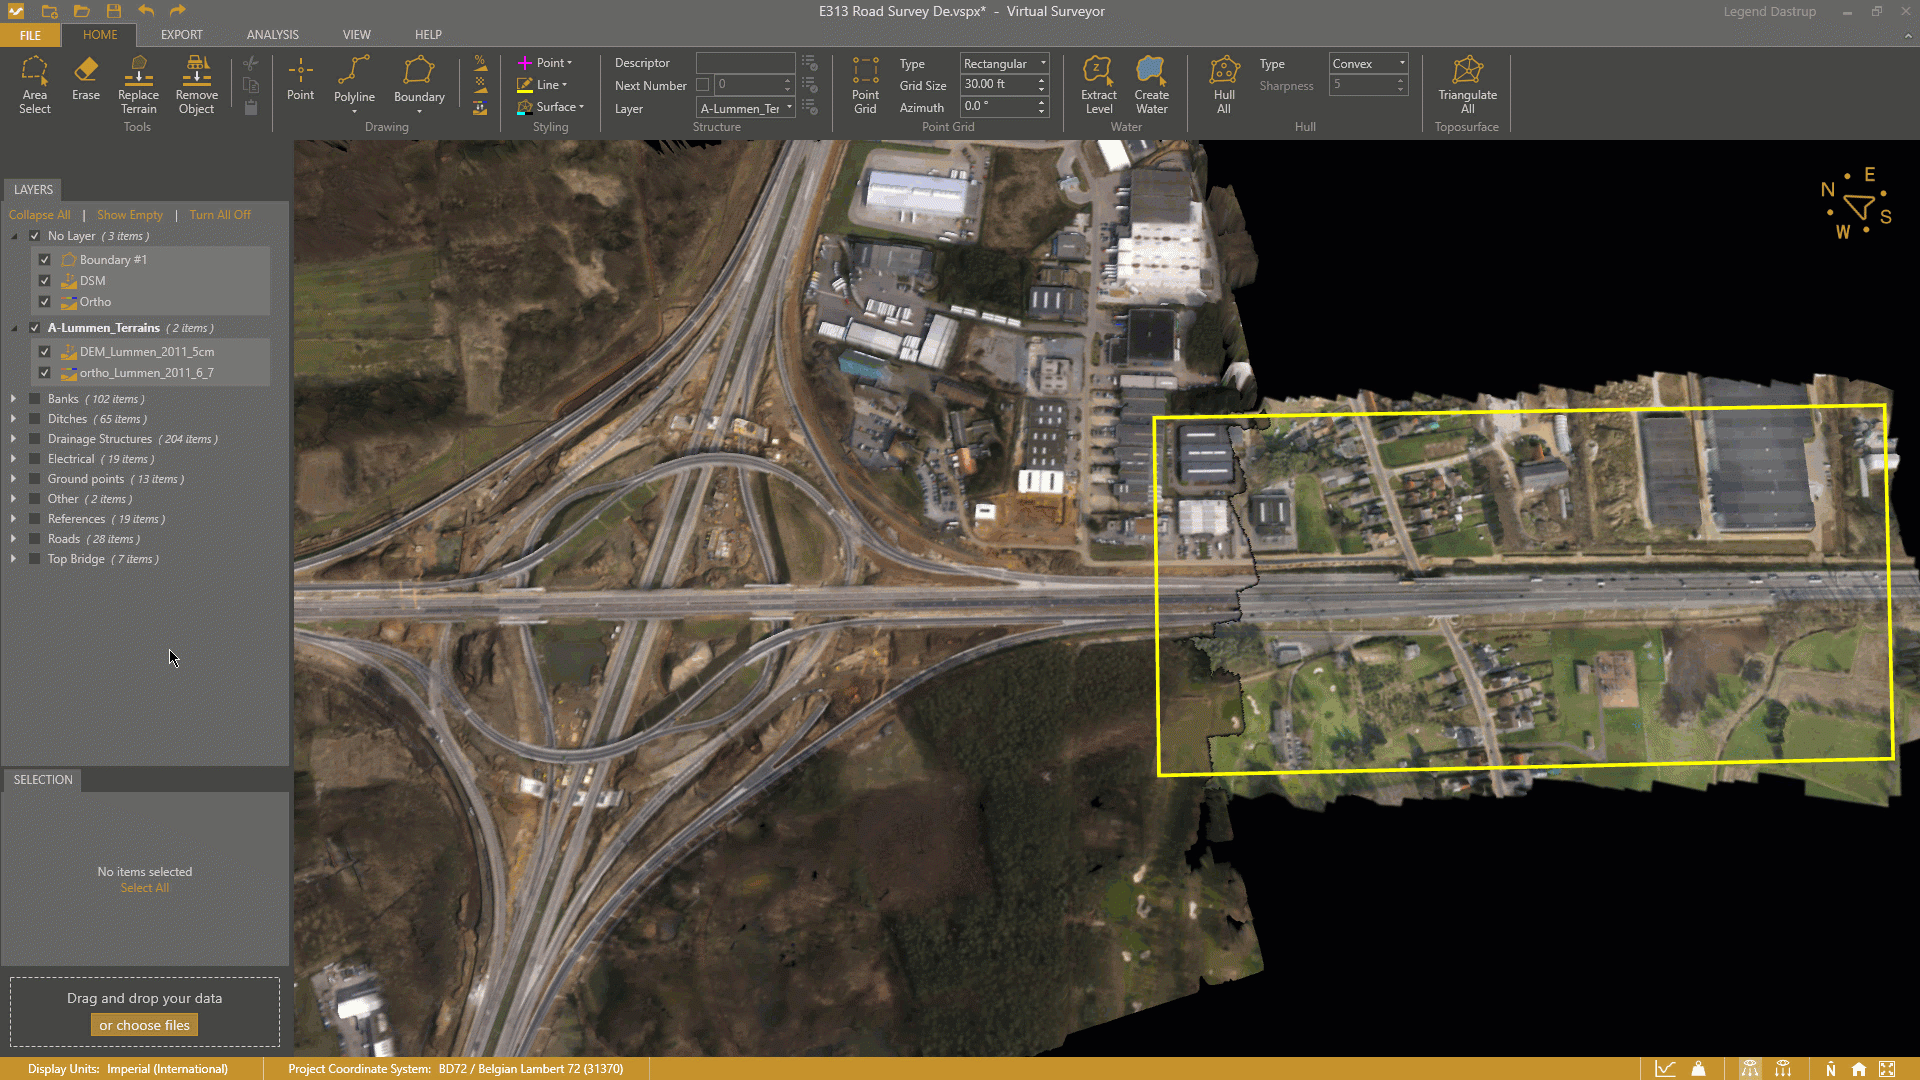
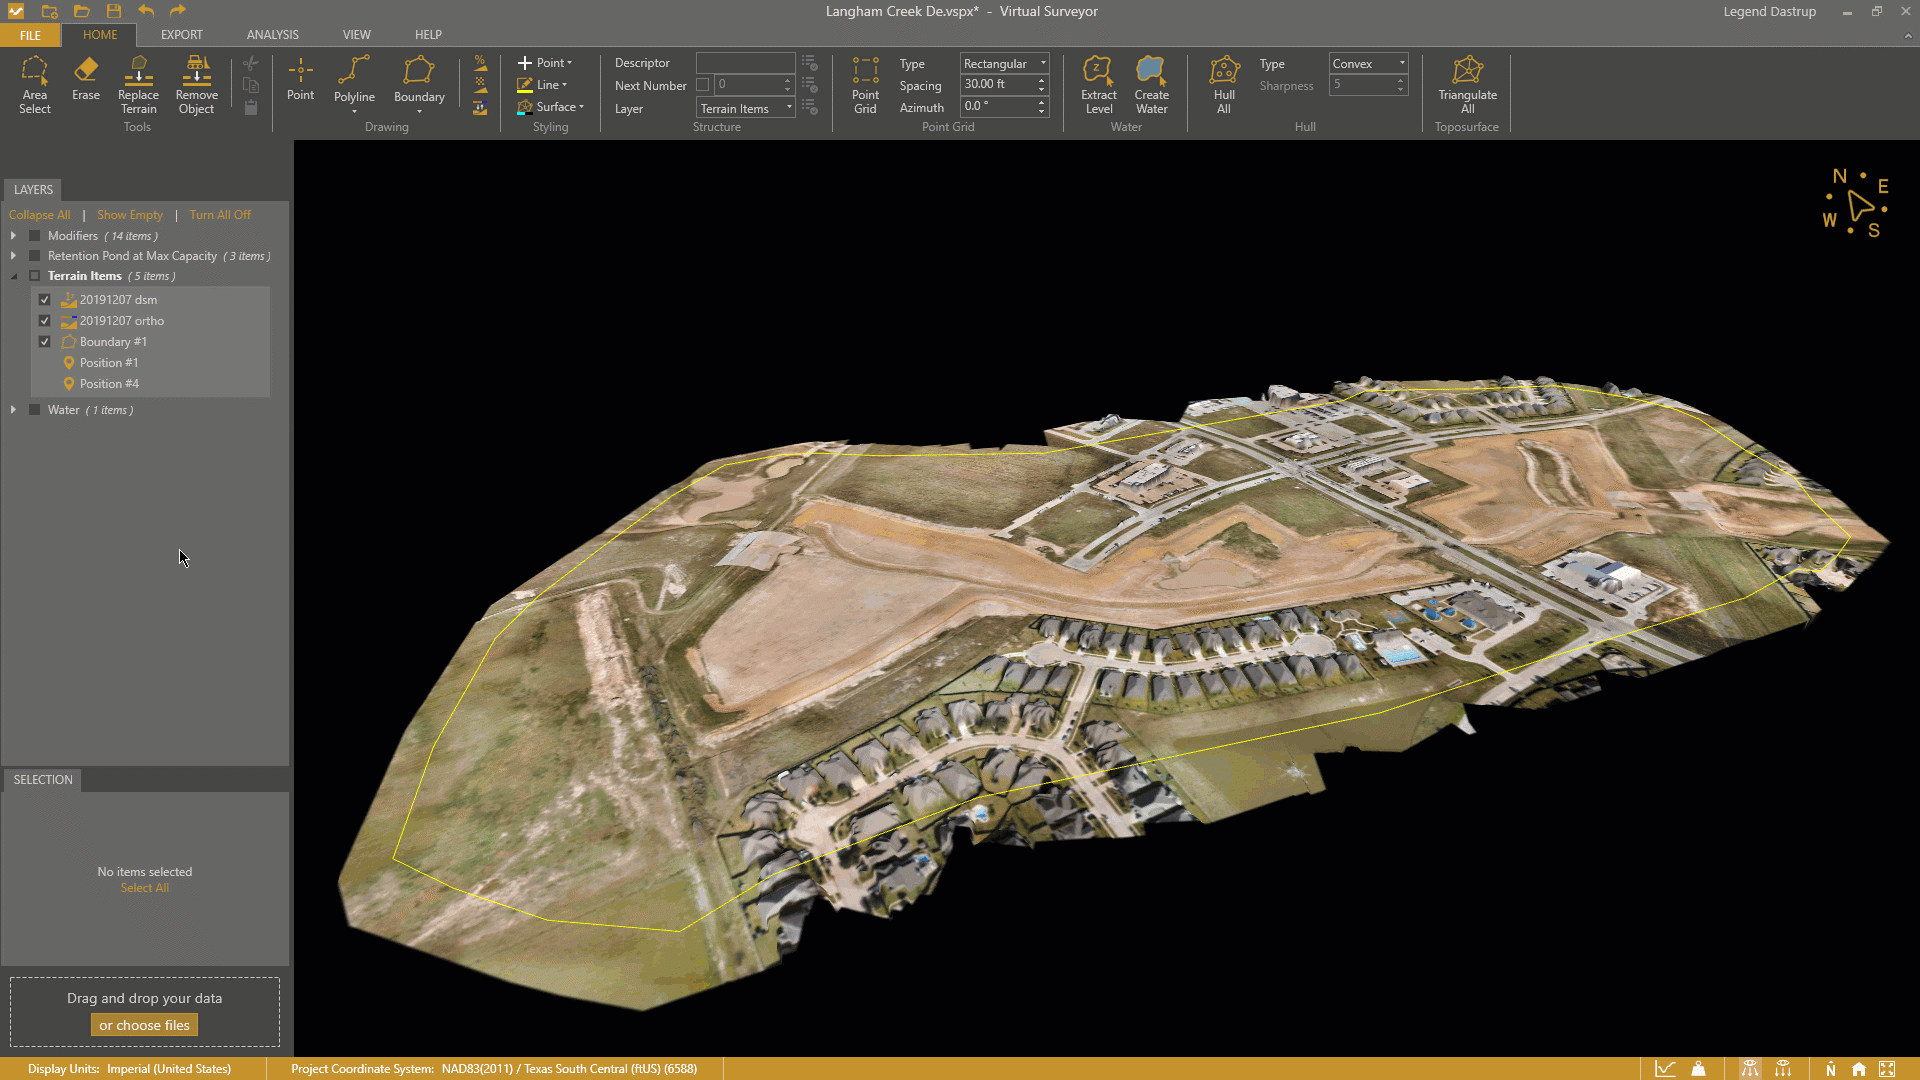
You can clip a DSM (Elevation Terrain) and Orthophoto (Image Terrain) to match the exact area you want to work on, present, or analyze. You do this by simply creating a Boundary around the area of your dataset that you would like to keep, and neatly trimming away everything else.
In this article, we'll show you how to clip your terrain data, and show some example scenarios.
| Clipped DSM | Clipped Orthophoto |
|---|---|
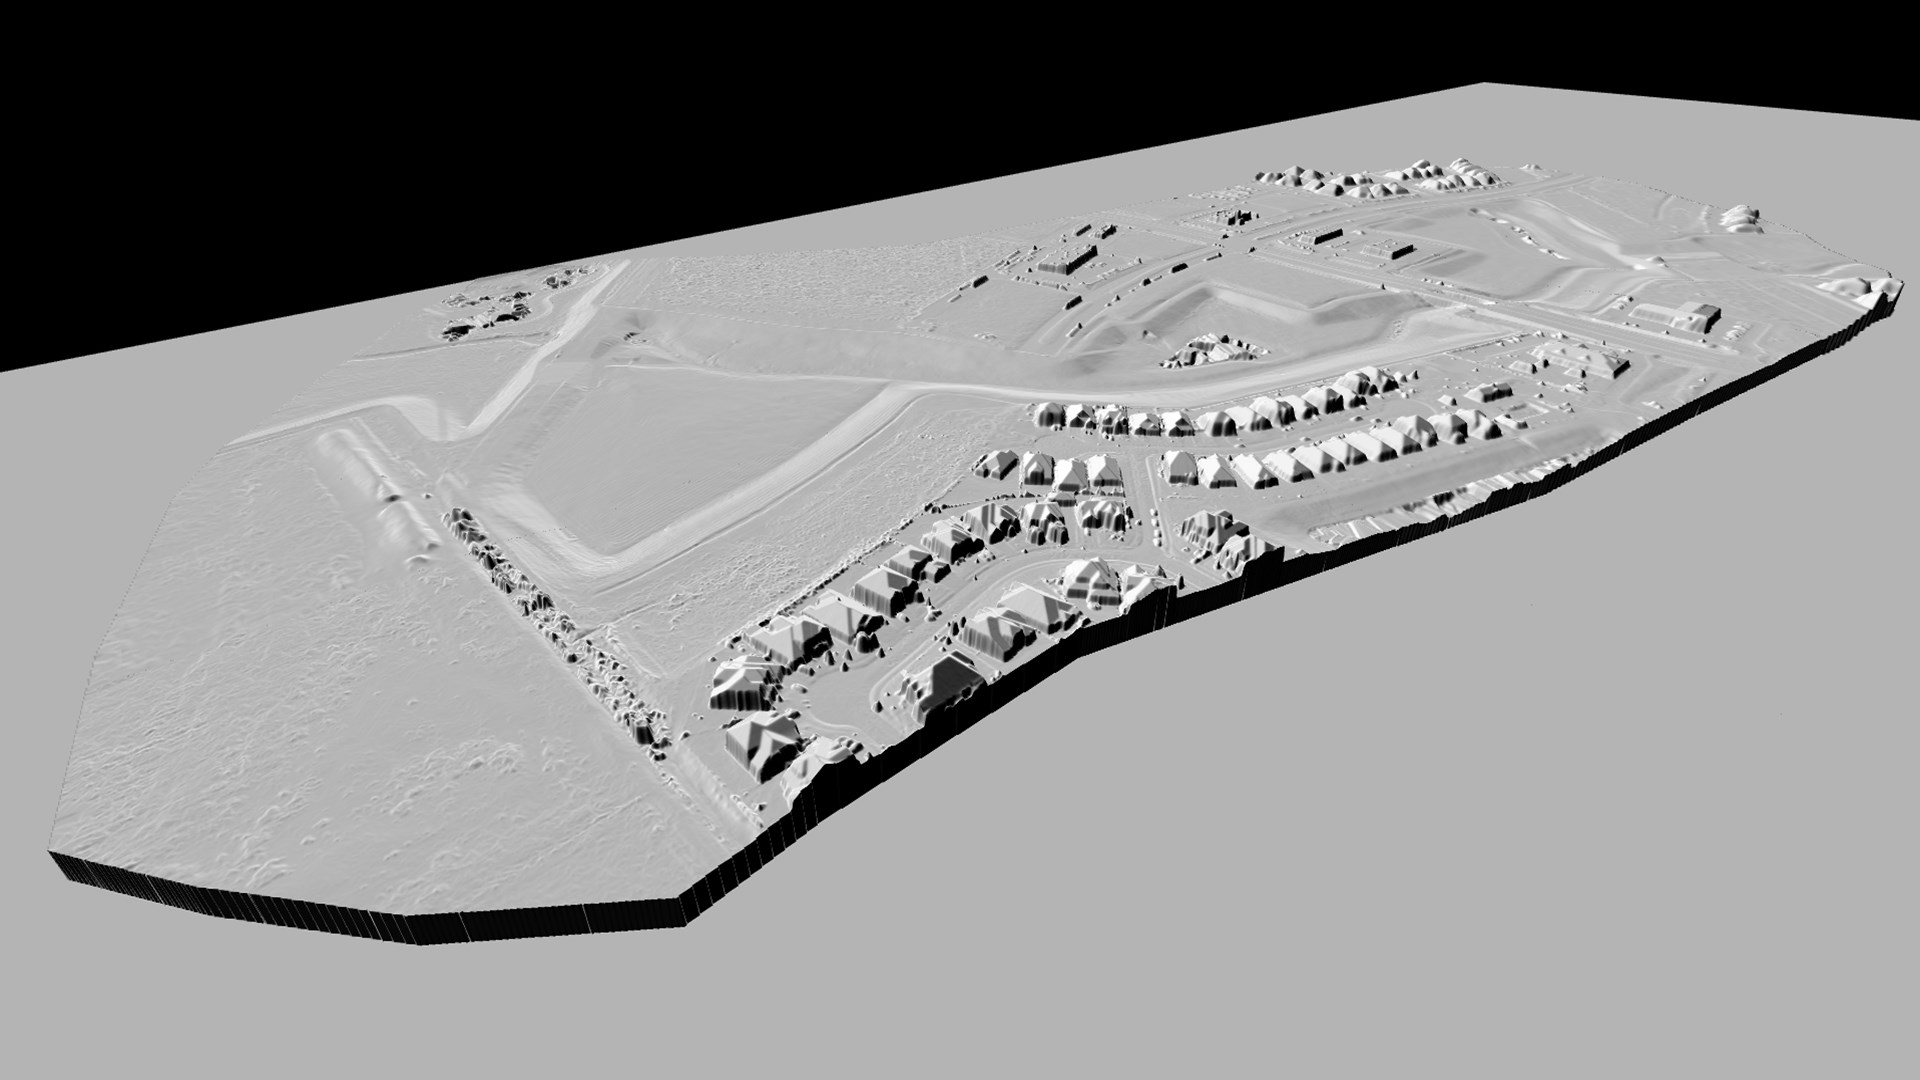 | 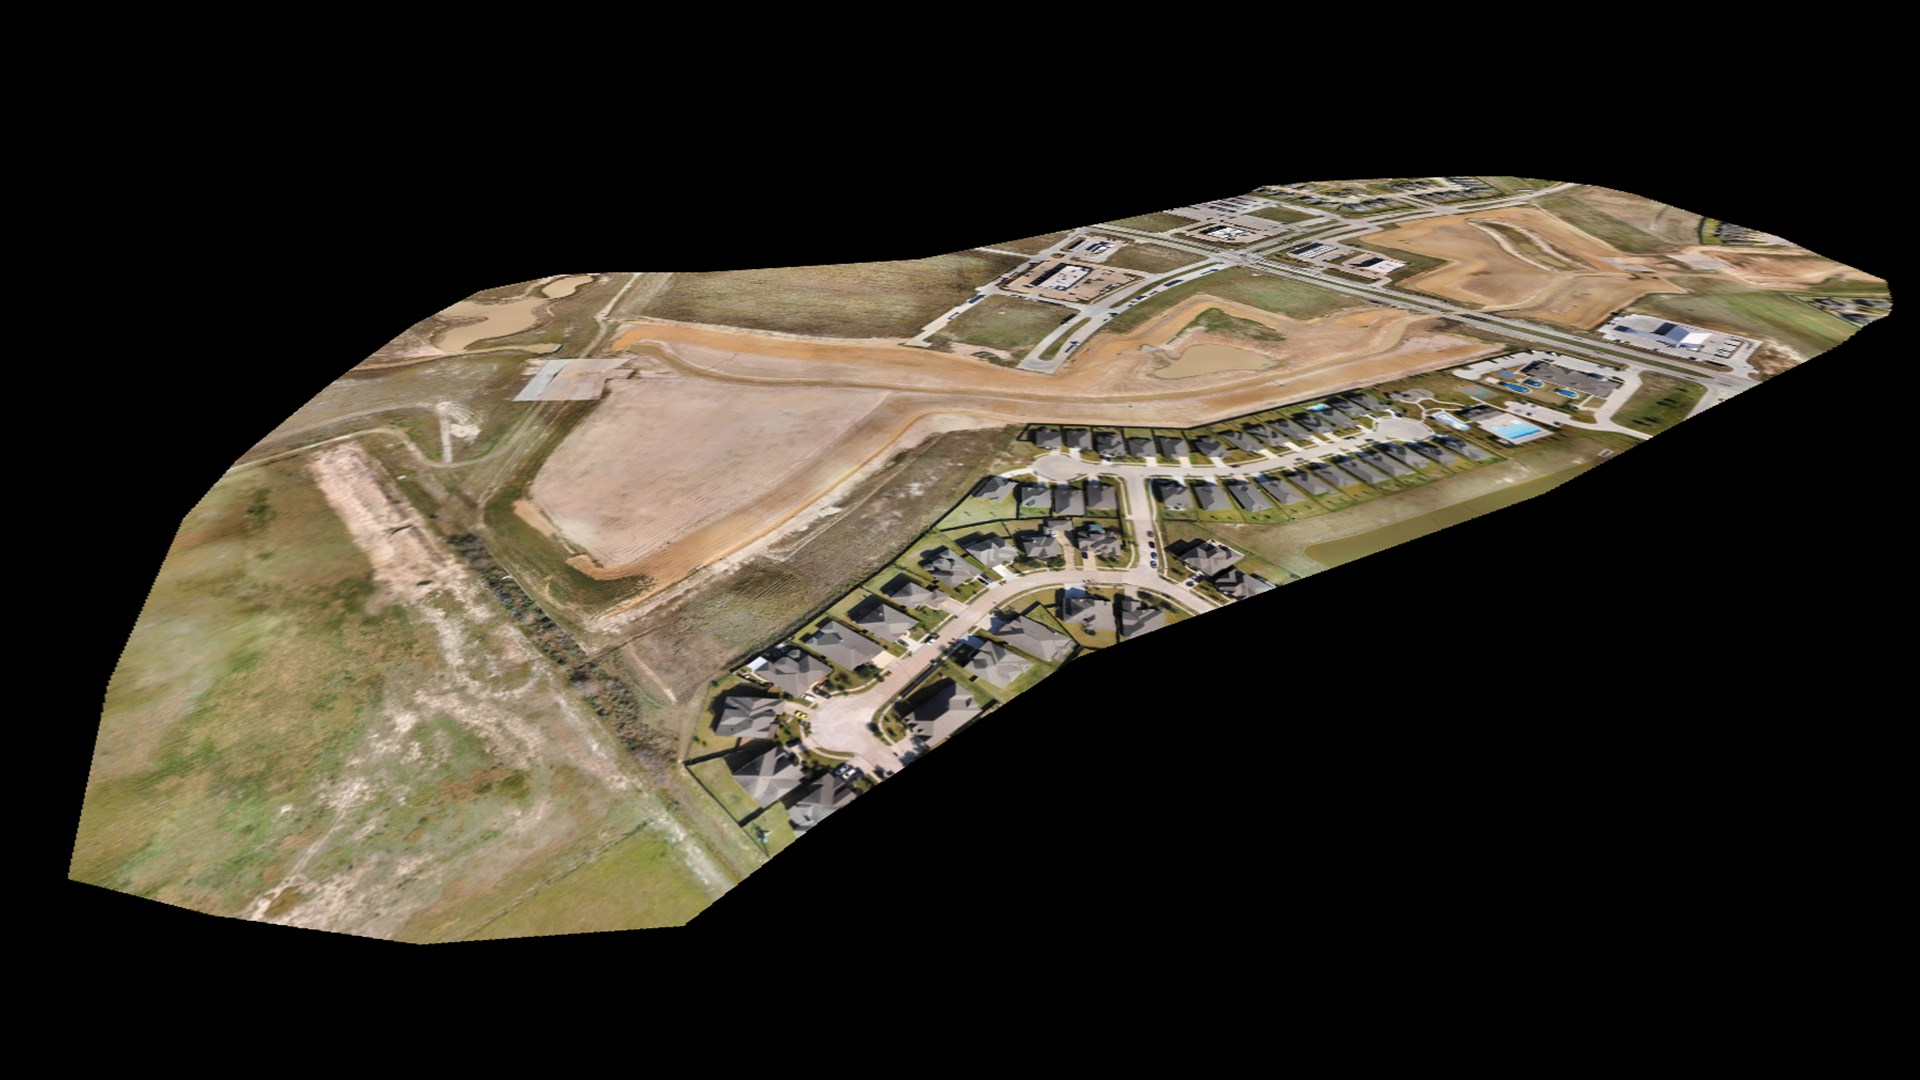 |
Overview
- How to Clip a DSM and Orthophoto
- Clipping Examples
- Remove Clipping
- Tips to Get the Most Out of Clipping
How to Clip a DSM and Orthophoto
Clipping a DSM or orthophoto can be done in just a few steps:
- Draw a boundary around the area you want to retain.
- In the Project View, select the boundary, then select the DSM and/or orthophoto from the Layers panel.
(Hold Ctrl to select multiple items) - Go to the Tools tab.
- Click Clip.
The terrain will immediately be clipped to the selected boundary.
Clipping Examples
The following examples show how clipping helps refine your dataset for different types of projects.
Clipping the DSM and Orthophoto of a Low Elevation Pond
In this example, the boundary is used to isolate the pond and its immediate surroundings from the larger dataset.
By clipping the terrain:
- Irregular edges from the photogrammetry process are removed
- The water body becomes the clear focus of the dataset
- The DSM is easier to interpret, especially in low-relief areas where subtle elevation differences matter
This is particularly useful for environmental analysis, drainage studies, or volume calculations where precision and clarity are important.
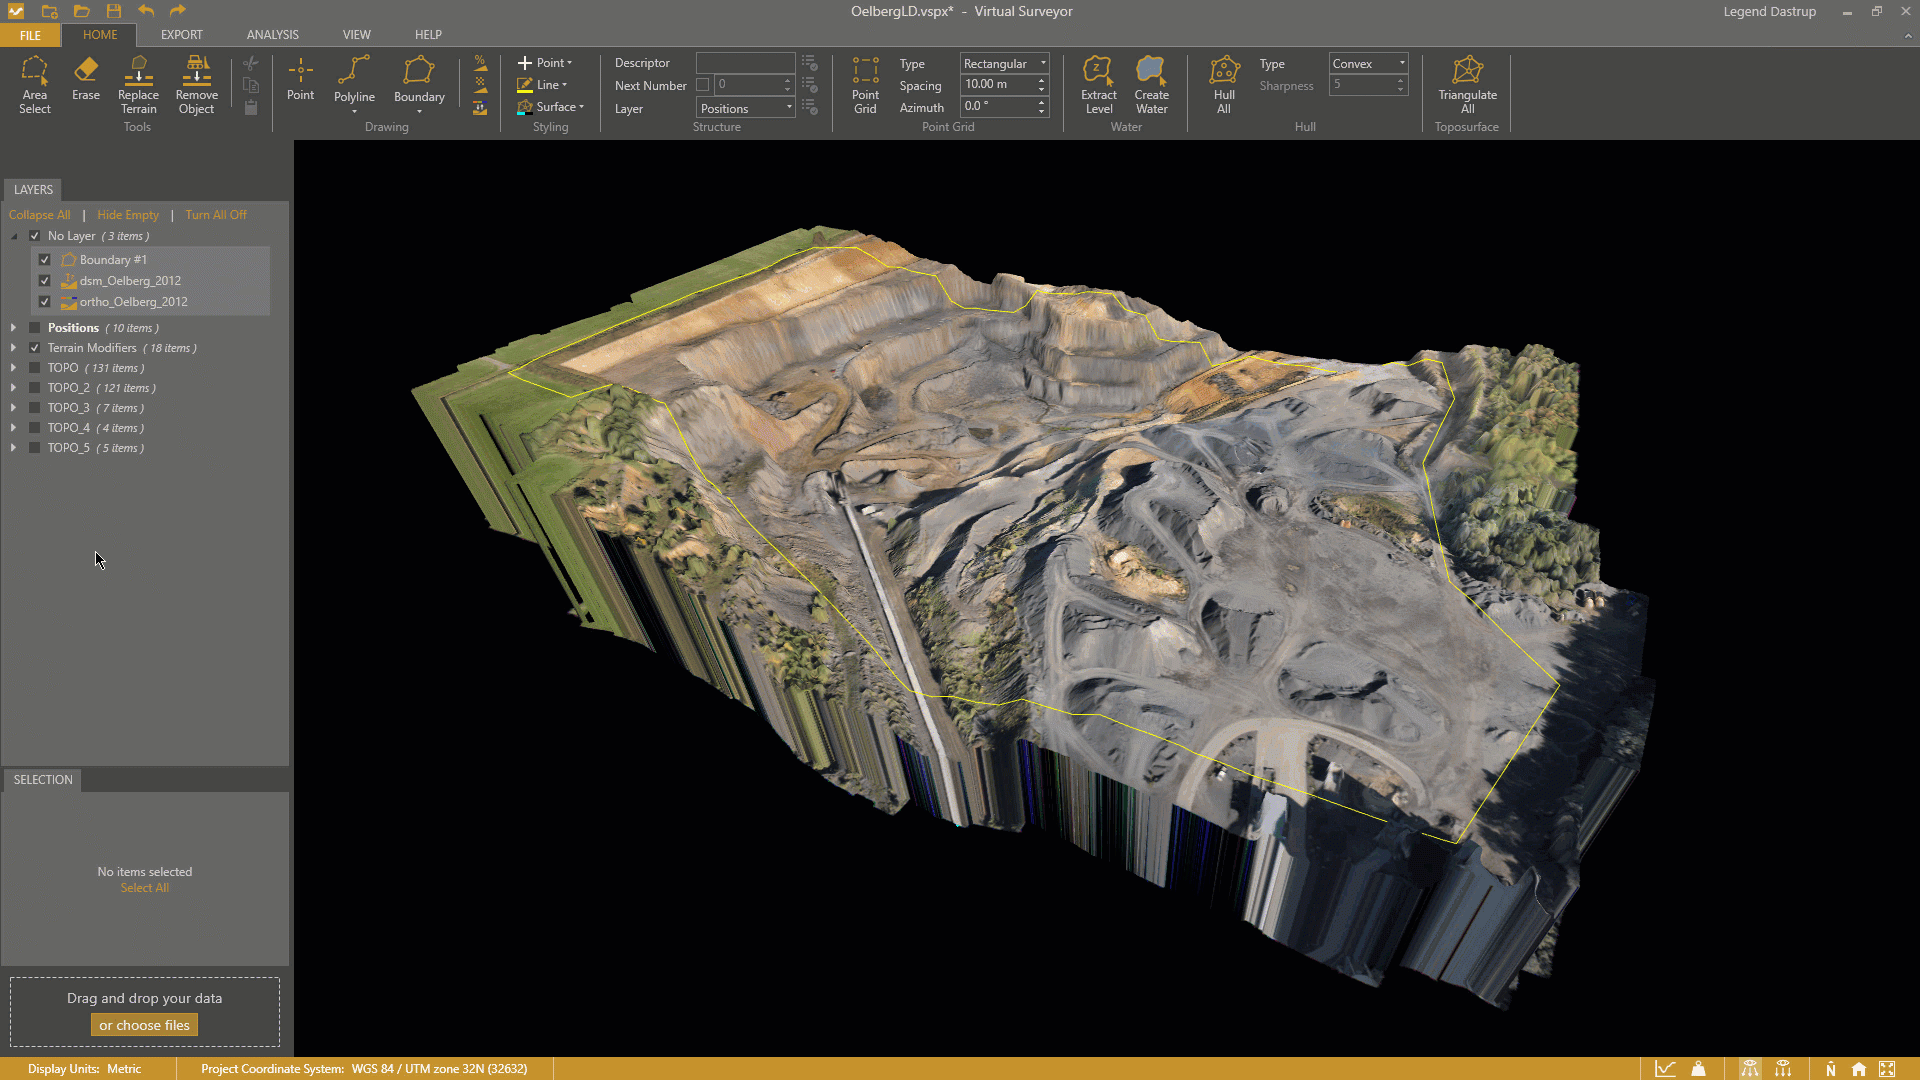
Clipping the DSM and Orthophoto of a Mine
Here, clipping is used to define the operational area of the mine and exclude surrounding terrain that is not relevant to the analysis.
After clipping:
- The dataset is reduced to the active mining area
- Haul roads, benches, and stockpiles are easier to identify and measure
- The result is better suited for reporting, planning, and export to other systems
This approach can commonly be used to prepare clean datasets for line and point grid surveys, volumetric calculations, progress tracking, or stakeholder presentations.
Remove Clipping
Clipping in Virtual Surveyor is a non-destructive operation as the original DSM and orthophoto remain unchanged. Instead of removing data, the software simply masks everything outside the selected boundary.
This allows you to:
- Adjust the boundary at any time
- Remove the clip if needed
- Maintain full control over your original dataset
To Remove Clipping
- Select the DSM and/or Ortho from the Layers panel.
- Go to the Tools tab.
- Click Unclip.
Tips to Get the Most Out of Clipping
- Define clean project limits
Use clipping to remove noisy edges or reconstruction artifacts from photogrammetry outputs. - Prepare for export
Take your clipped DSM or Orthophoto as an Exported Image and Export the Elevation for work in GIS systems. - Create mosaics
Use the Clip button to merge overlapping DSMs and Orthophotos and create mosaics.