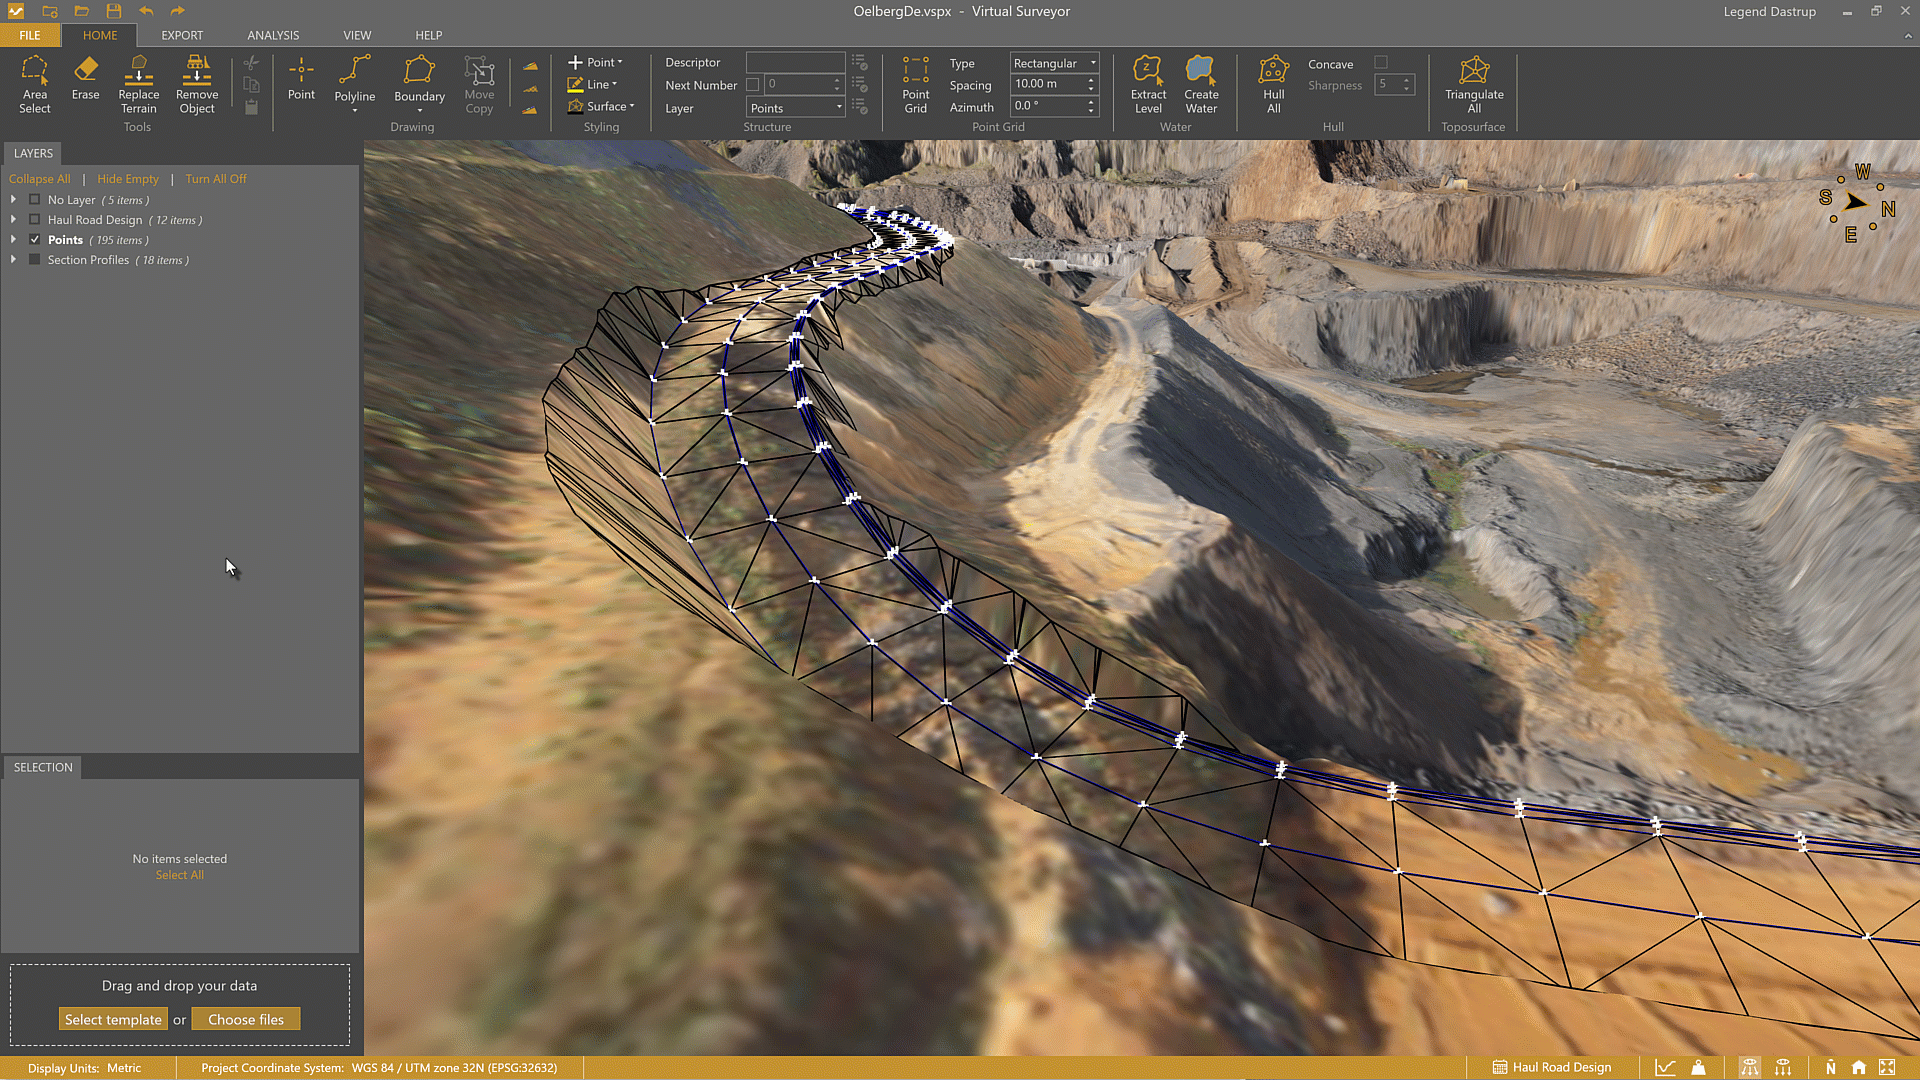
To edit, move, copy, rotate, or remove drawings in your project, you first need to select them. There are several ways to make a selection in the VirtualSurveyor app, depending on what you're trying to do.
This article walks through the most common selection methods.
Overview
- Click to Select
- Rectangle Select
- Area Select
- Select Within
- Select Features from Layers
- Selection Box
- Cycle Selection Options with Tab
Click to Select
In the Viewport or in the Project View, click a geometry to select it.
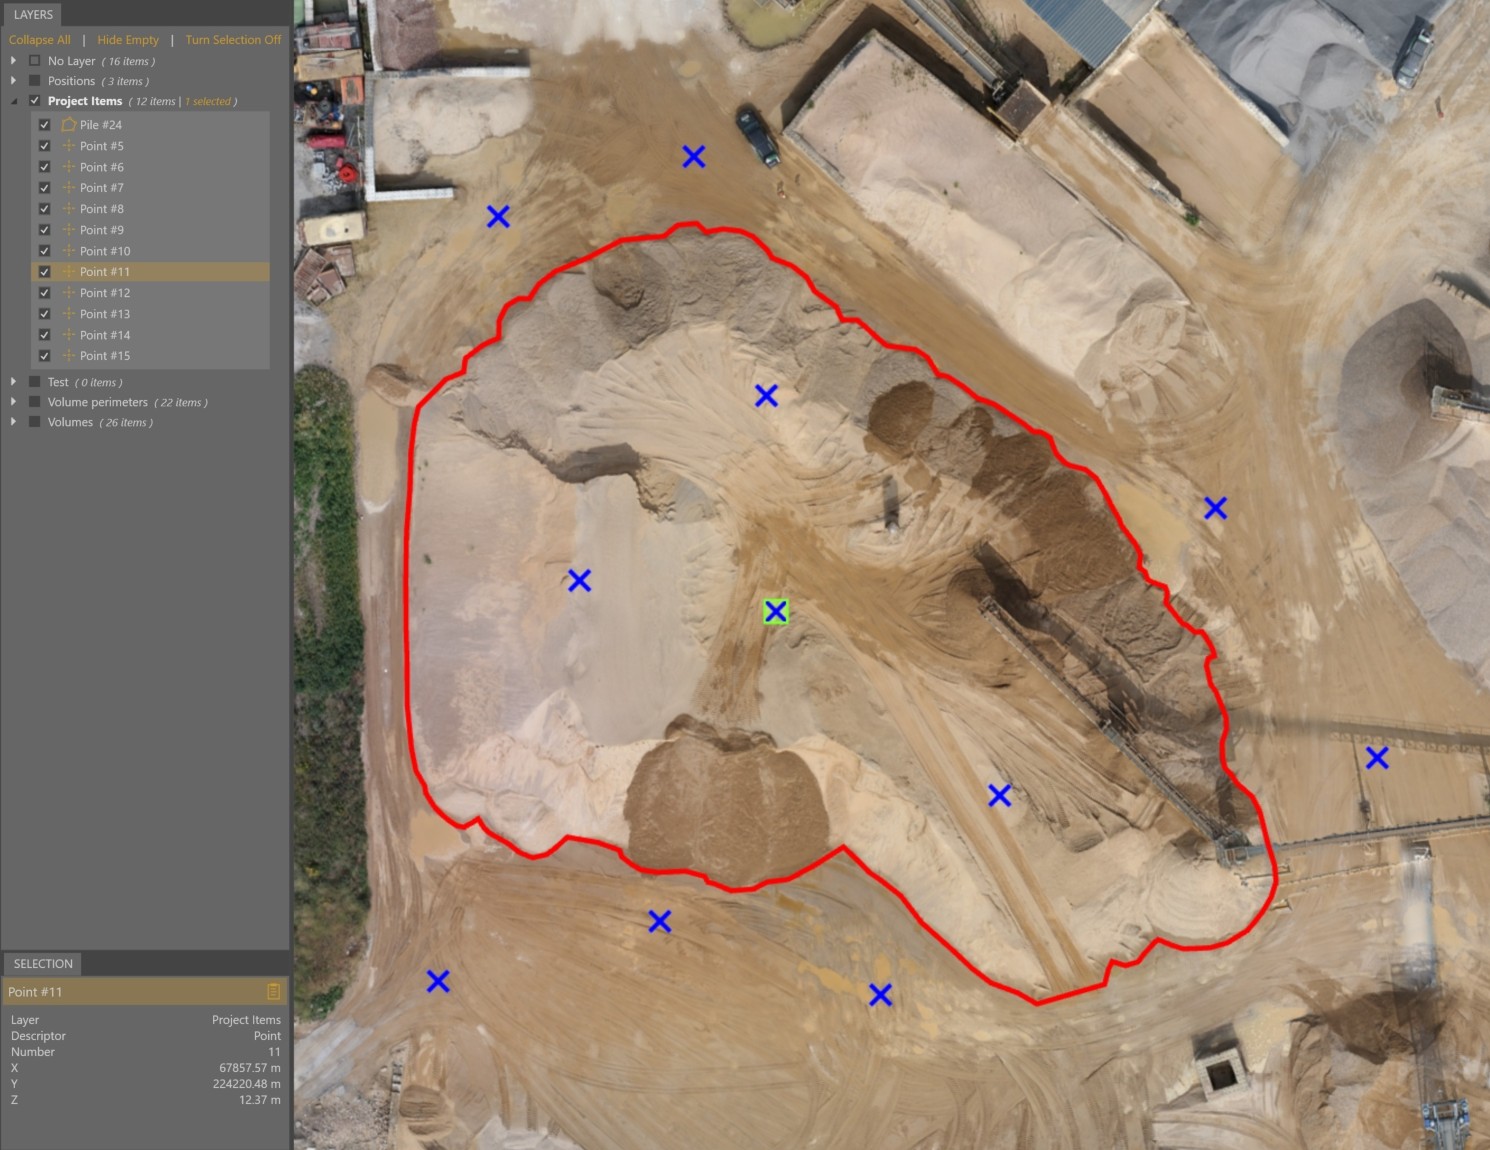
Hold Ctrl and click to add more geometries to your selection.
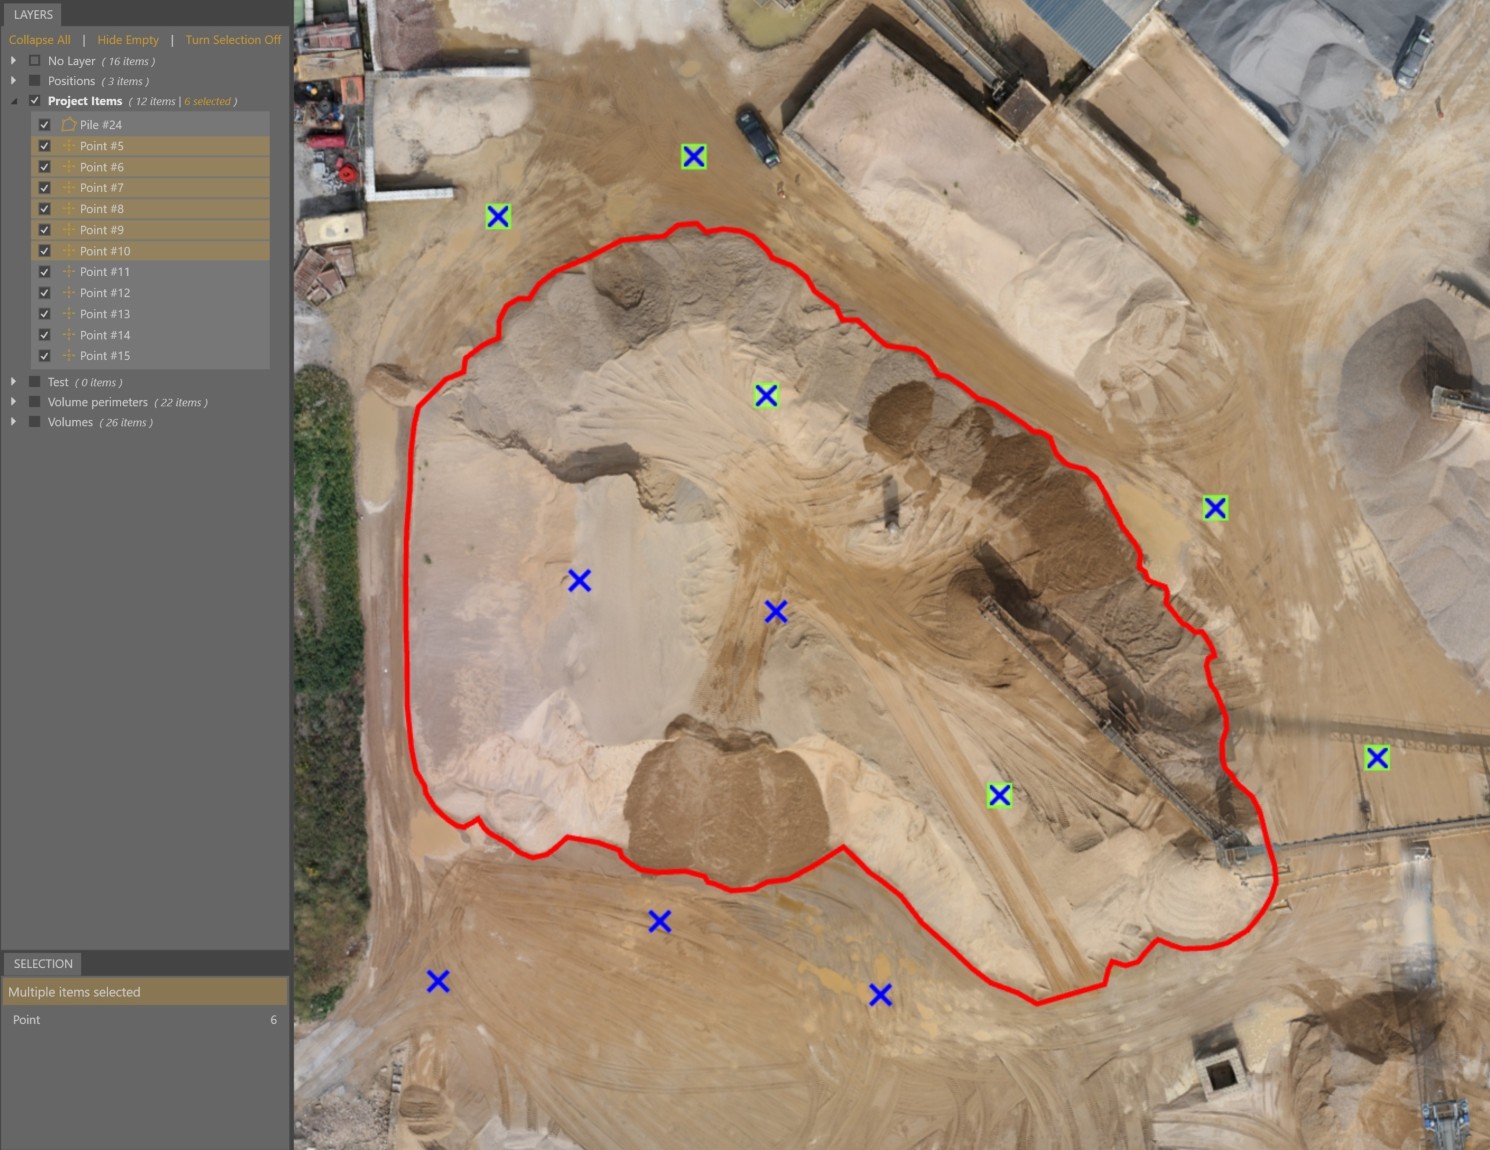
Rectangle Select
Select all geometries within a rectangle area.
- Hold Shift.
- Click and drag to draw a rectangle around the geometries you want to select.
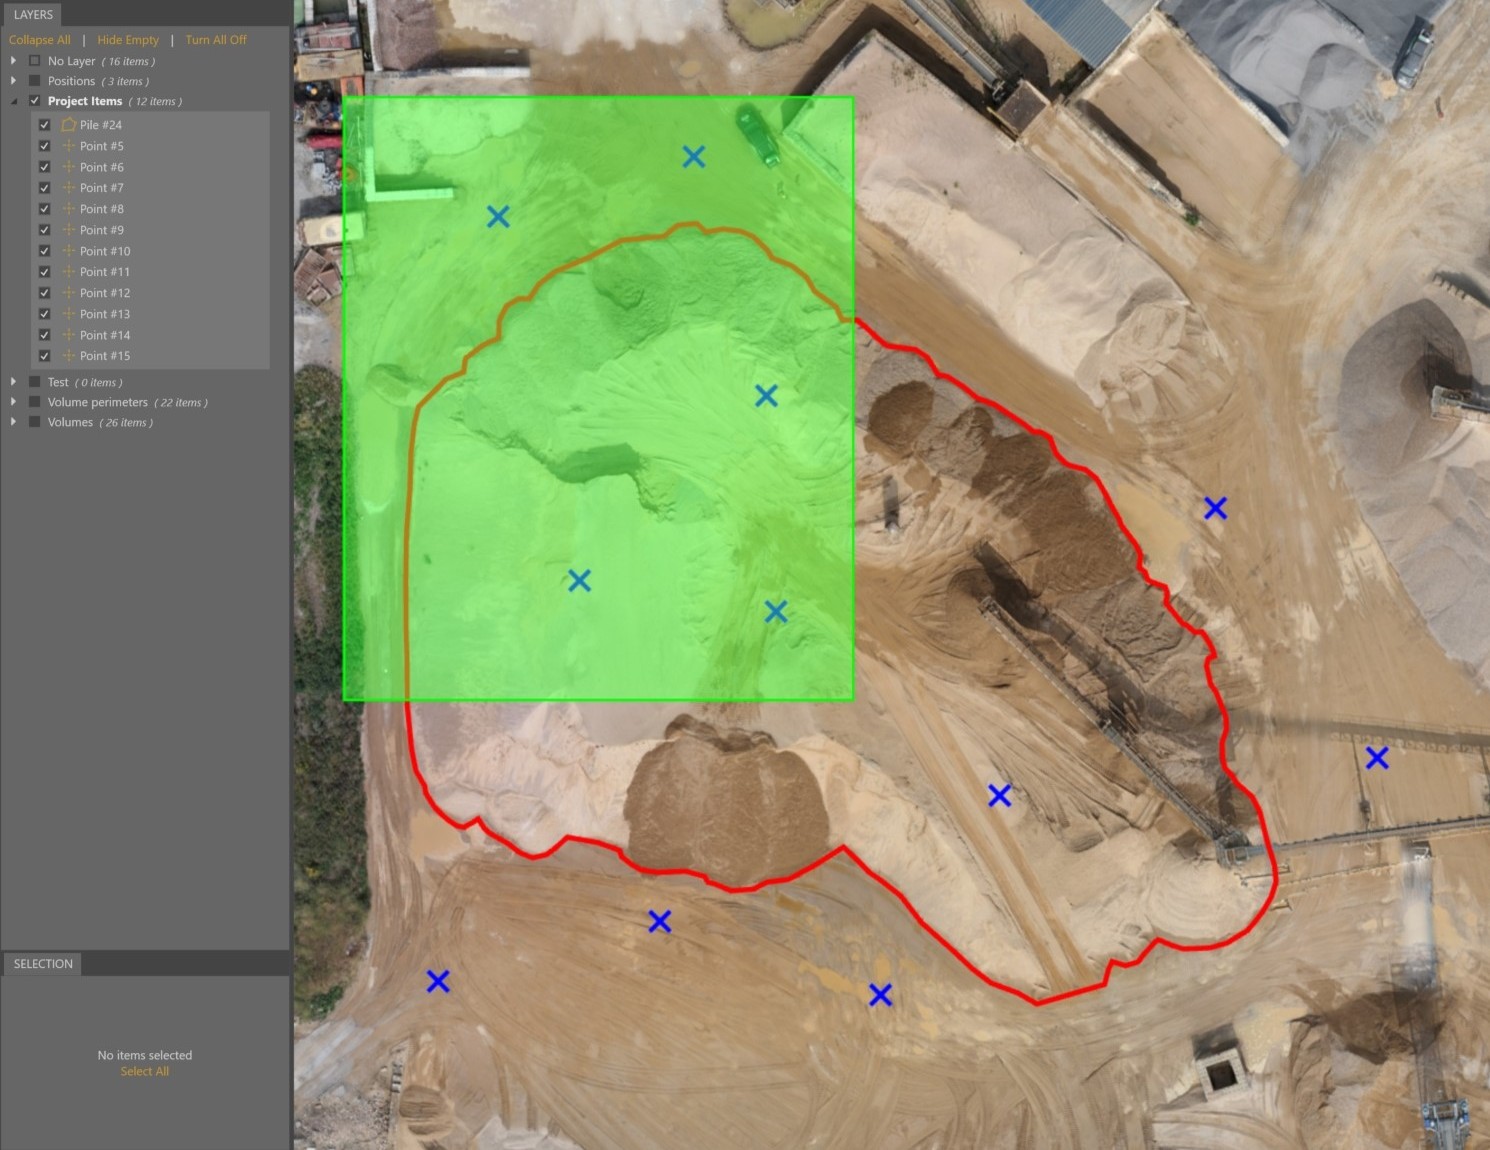
Area Select
Select all geometries within a manually specified area.
- Enable Area Select from the Home tab.
- Left-click to draw an area around what you want to select.
- Right-click to complete the selection.
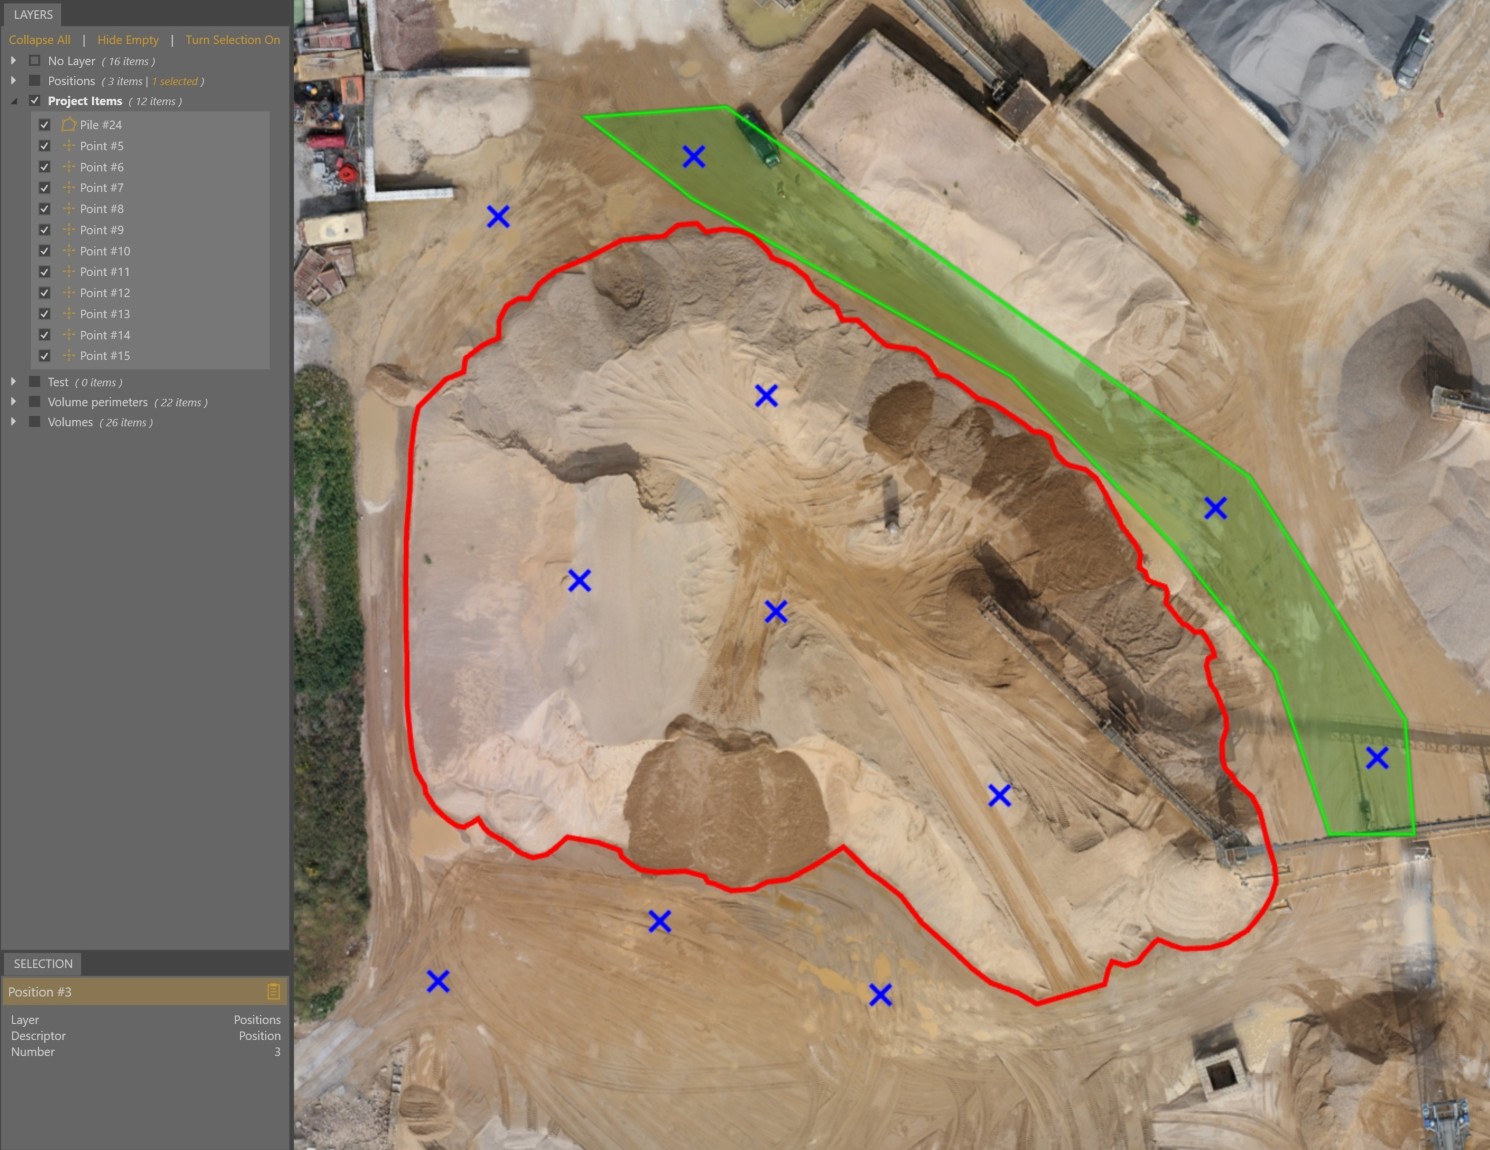
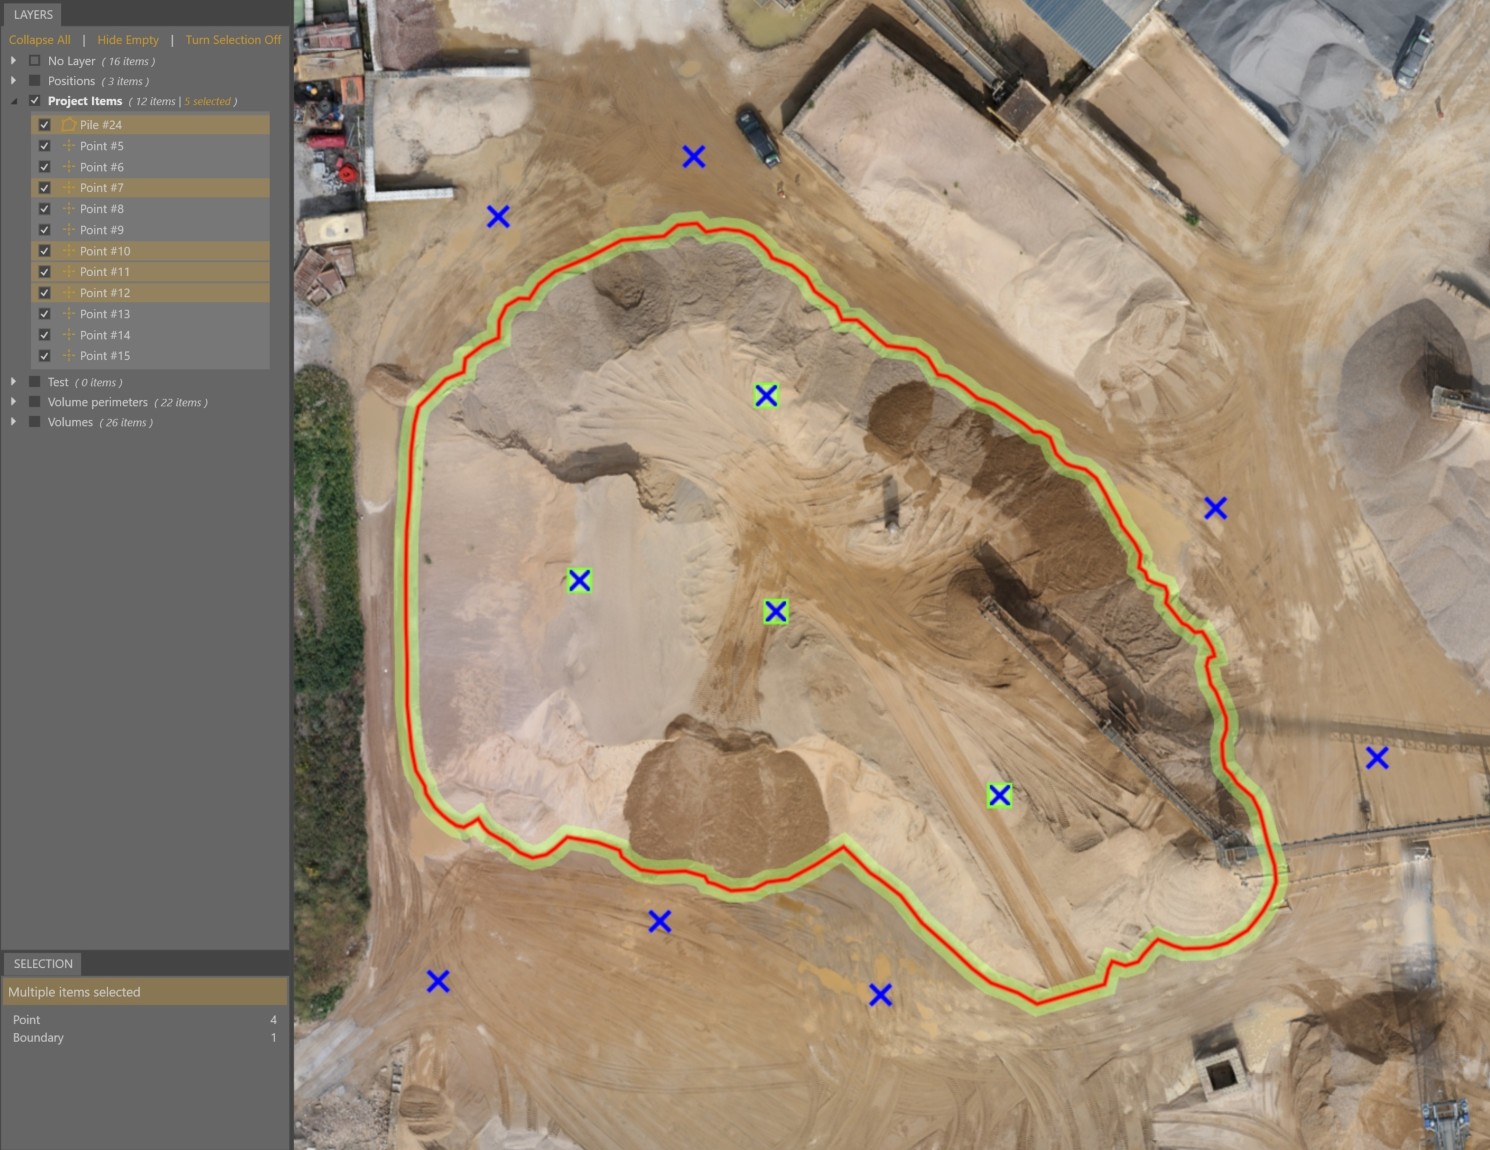
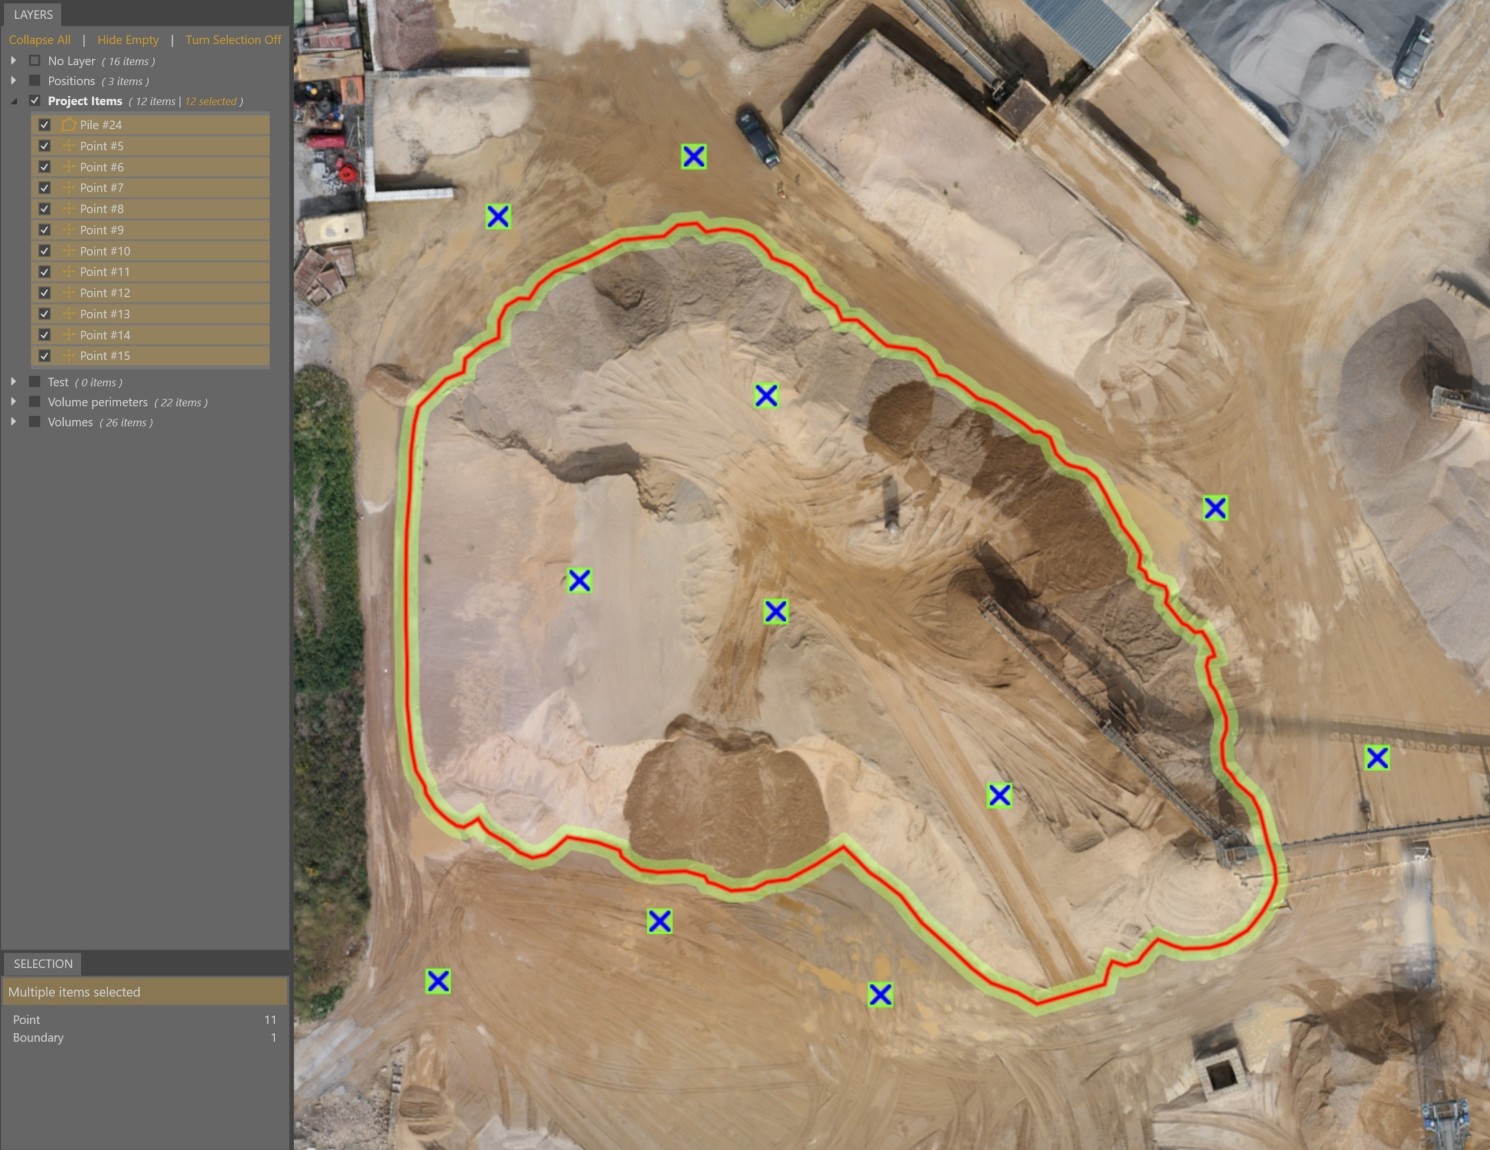
Select Within
Select all drawn geometries within a boundary.
When a boundary is selected:
- Go to the Tools tab.
- Click on Select Within.
Select Geometries from Layers
You can also select all the geometries and features from the Layers panel.
Options for selecting geometries in the Layers panel:
- Click on the layer name to instantly select all in that layer.
- Click on one within a layer.
- Hold Ctrl and click on multiple geometries individually.
- Hold Shift and click to select a range of geometries.
Selection Box
The Selection Box exposes basic query tools.
- Click Select Allto select everything (even geometries not visible in the Viewport).
- The Selection Box then displays a summary of all your selected geometries and features.

- Use the summary to refine the selection by feature type.

Cycle Selection Options with Tab
Cycle through overlapping geometries to quickly select the correct one.
When multiple geometries overlap:
- Hover the mouse over the geometry you want to select.
- Press Tab to cycle through available options.
- Click to select the highlighted one.